Willa and I finished our multi-day art project and it is ready to display. It has actually been done for a few weeks, I only needed to apply the final layers of fixative spray. Interestingly, she knew when it was done, when to walk away, and I took my sweet time getting to that point and committing to sealing it all in. Read on to see parts of our rainbow layers.
Rainbow Layer One
You can see step one of our project here. We started with three canvases and spray bottles filled with watered down tempera paint. This layer created the rainbow foundation, each color being applied to one half of a canvas. The colors were true red, orange, yellow, green, blue, violet.
Rainbow Layer Two
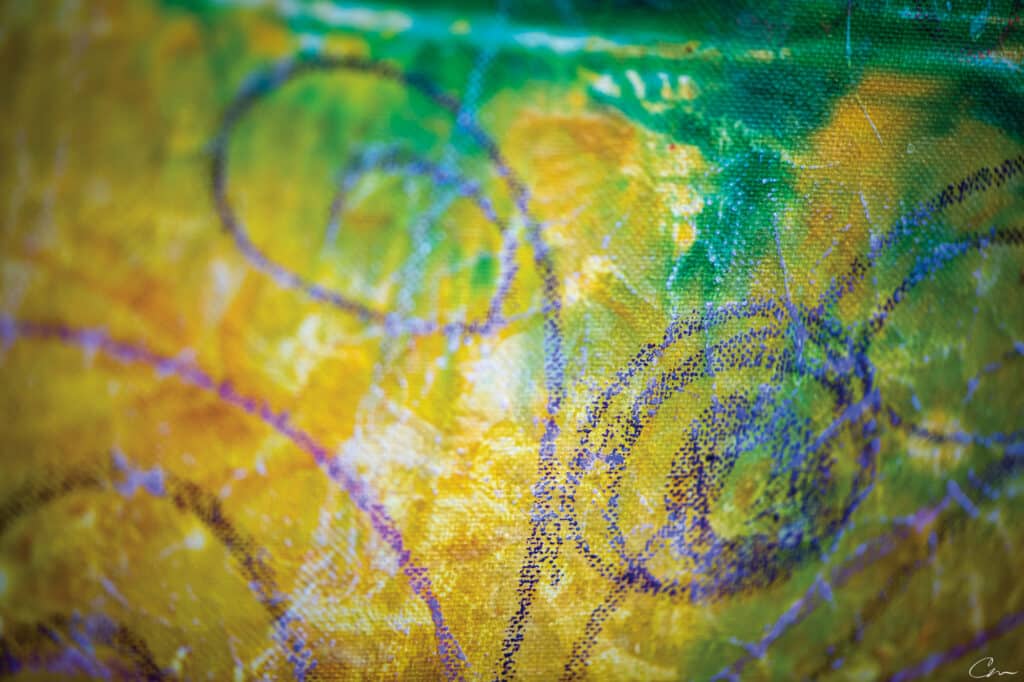
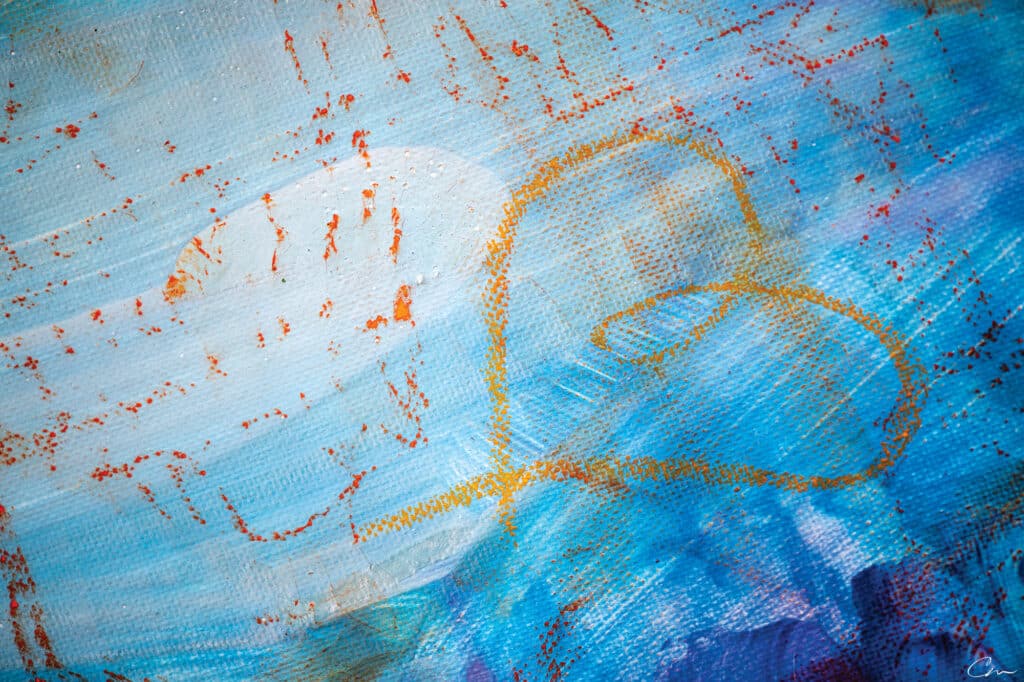
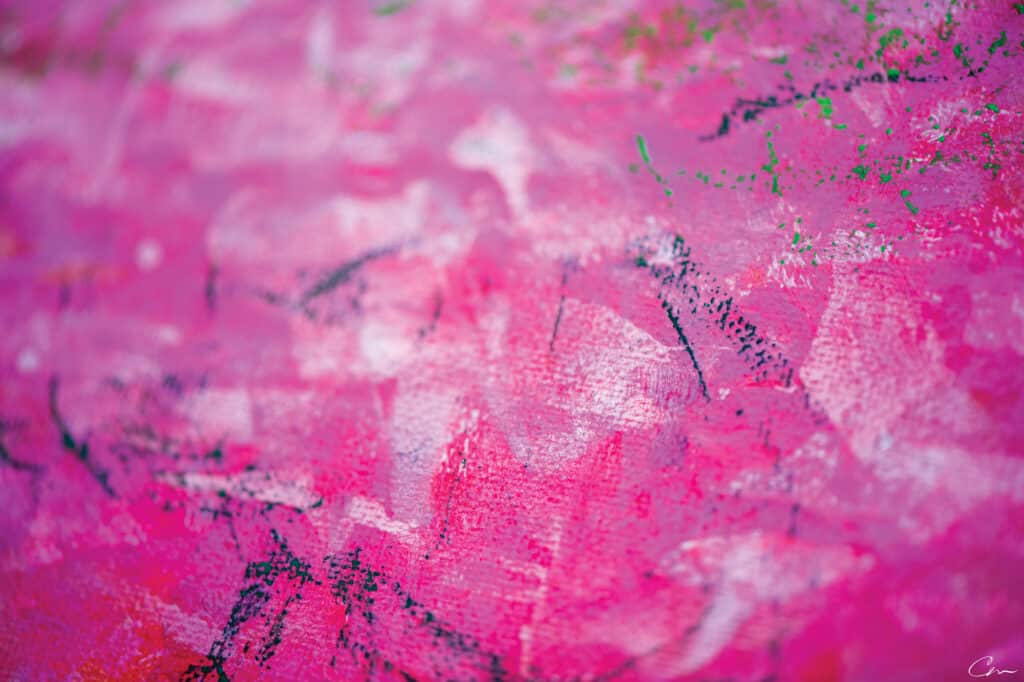
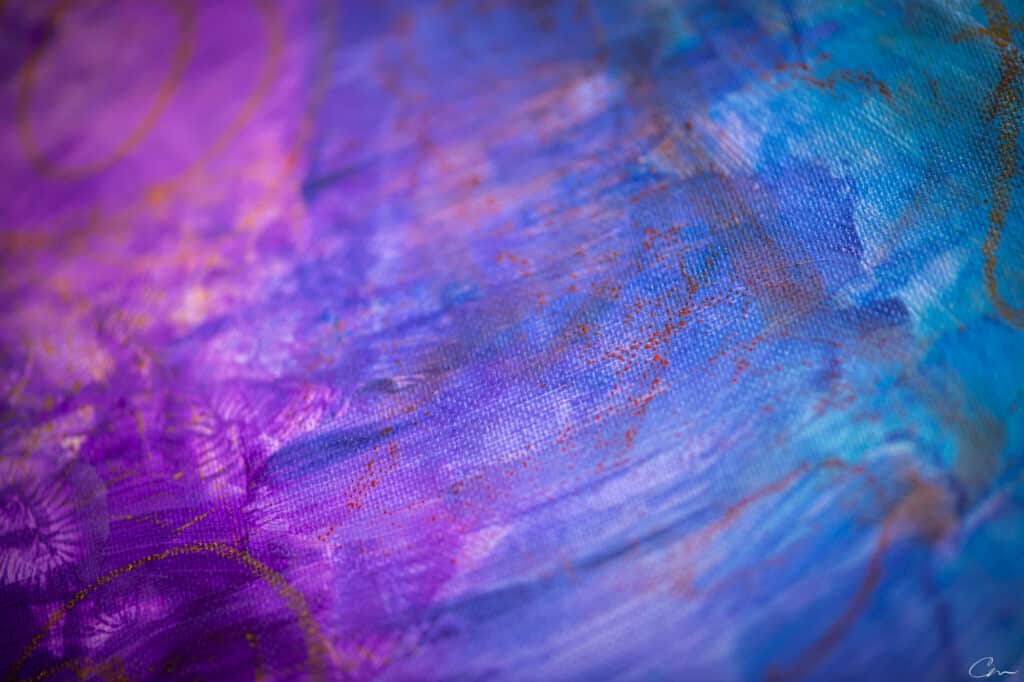
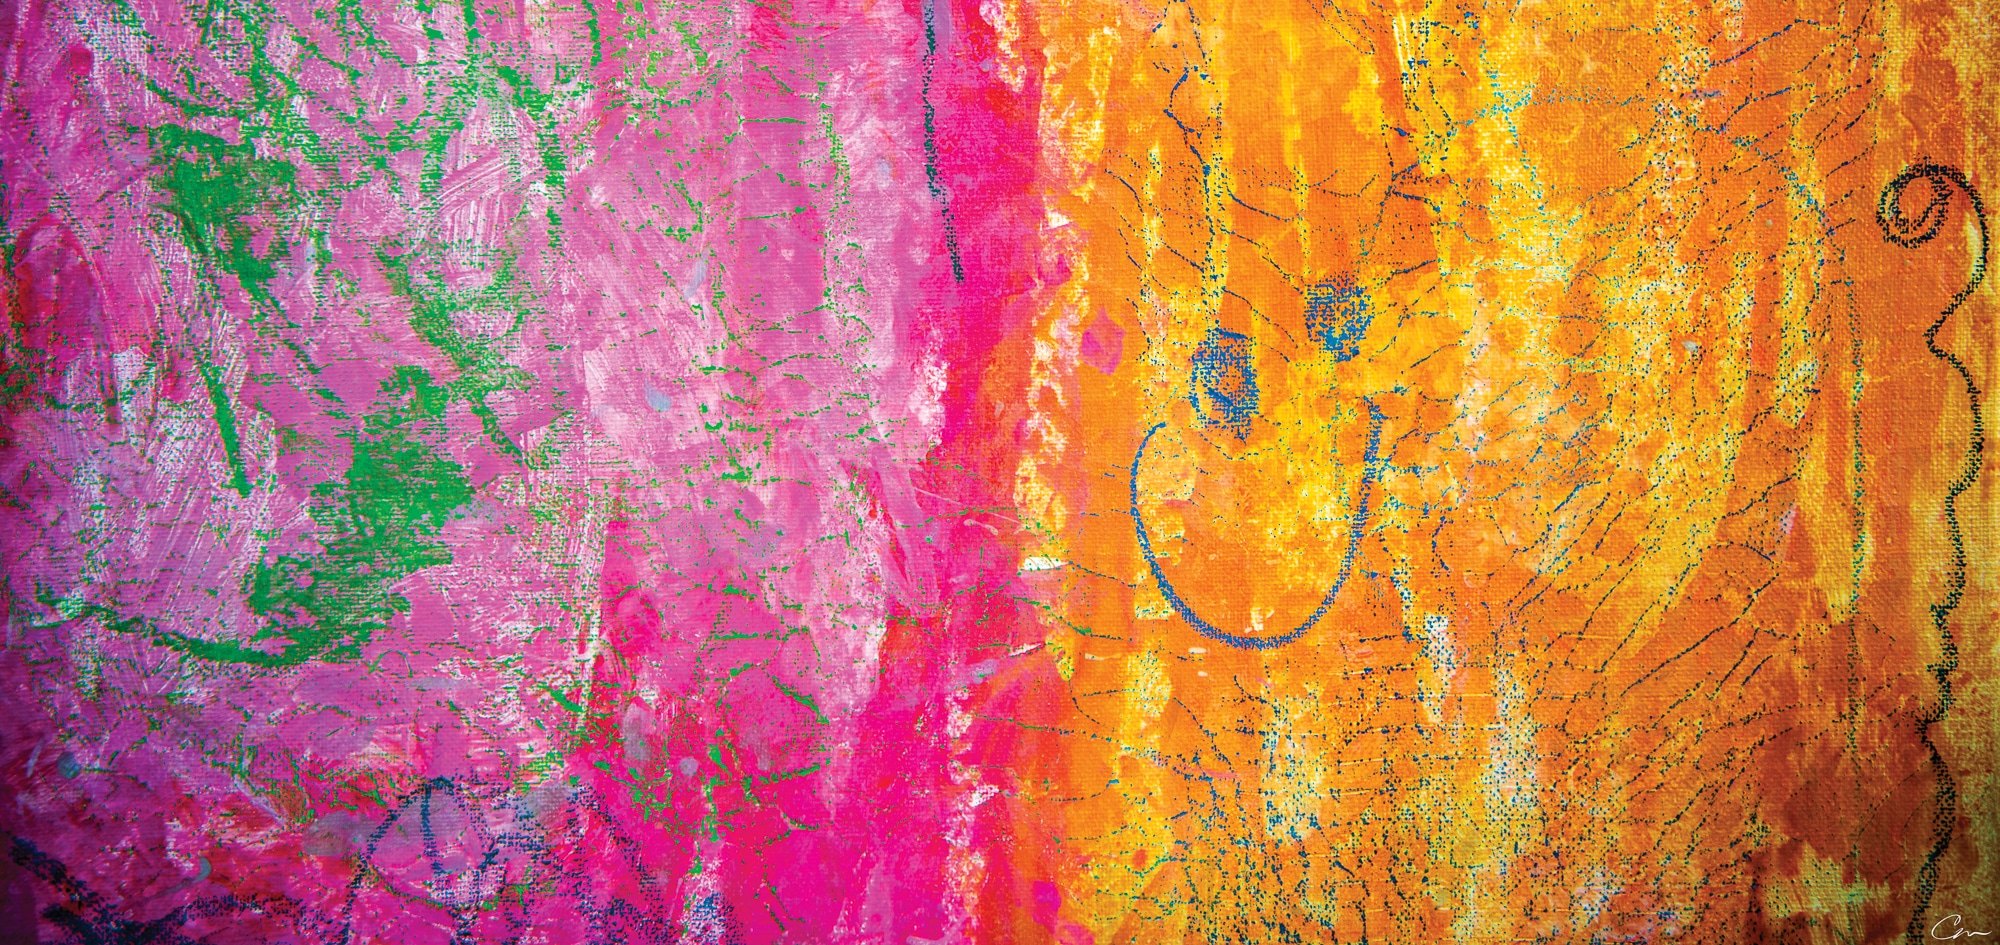
The next layer was incredibly fun! We pulled out all sorts of brushes, sponges, bubble wrap, rollers, scrapers, and anything else interesting we could find. For colors we chose related shades for each color. Pink, magenta, cantaloupe, gold, grass green, teal, turquoise, purple, etc. These colors went on top of their corresponding base colors and we even managed to created an indigo-ish strip between blue and violet.
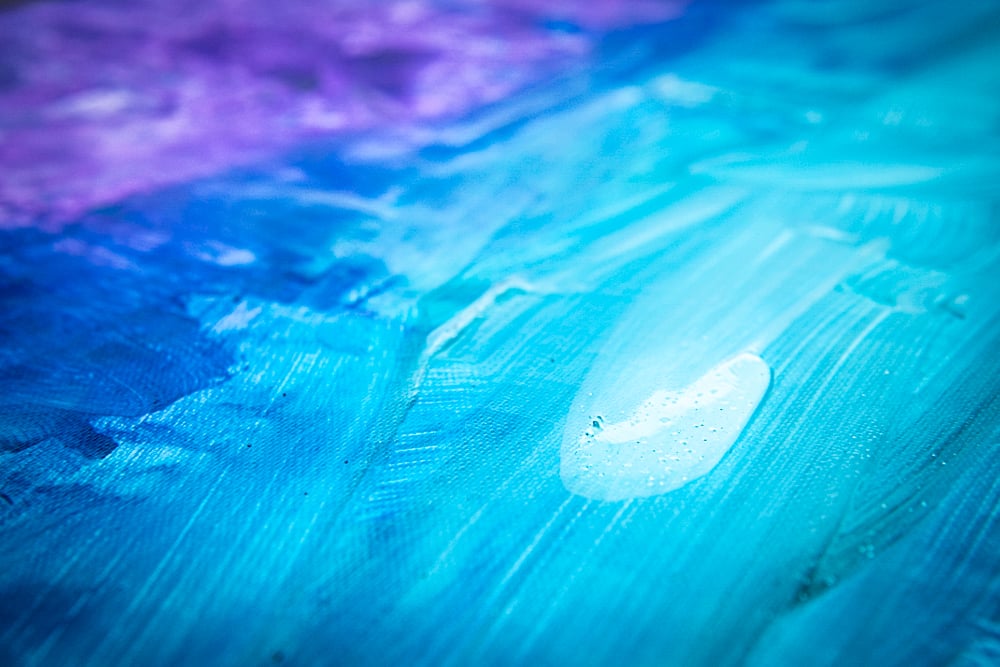
This layer was the experiment and learn layer. We had cups upon cups of colors to mix and blend, making new colors. White to create new shades. Silver and gold to add shimmer and shine. Get into it! Try! Ask “what happens if?” and then go see! Make a mess! Wear it! Be all In! (Note – We did this entire project outside and tempera paint is waterbased.)
This was our soundtrack:
Rainbow Layer 3
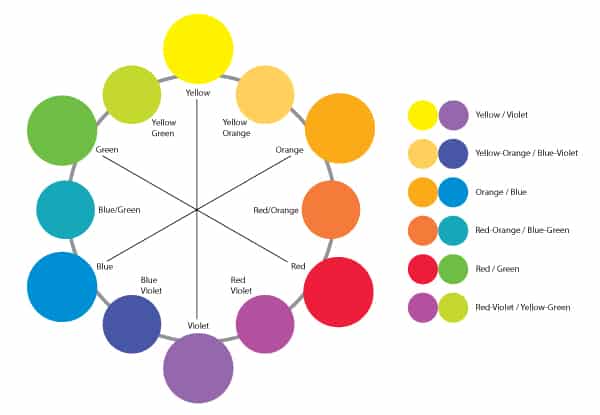
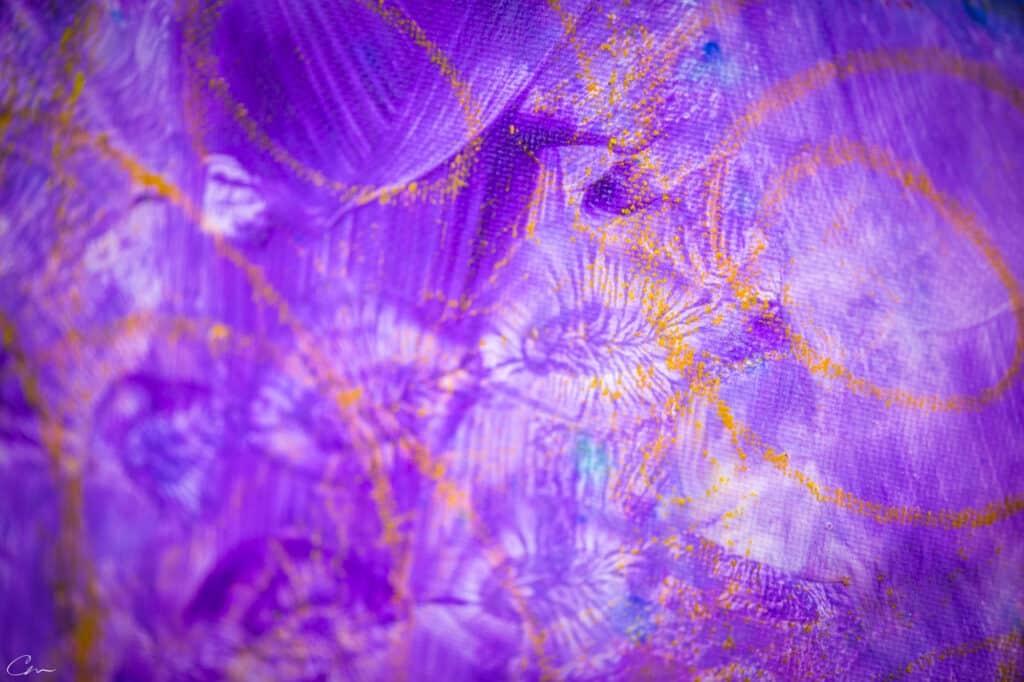
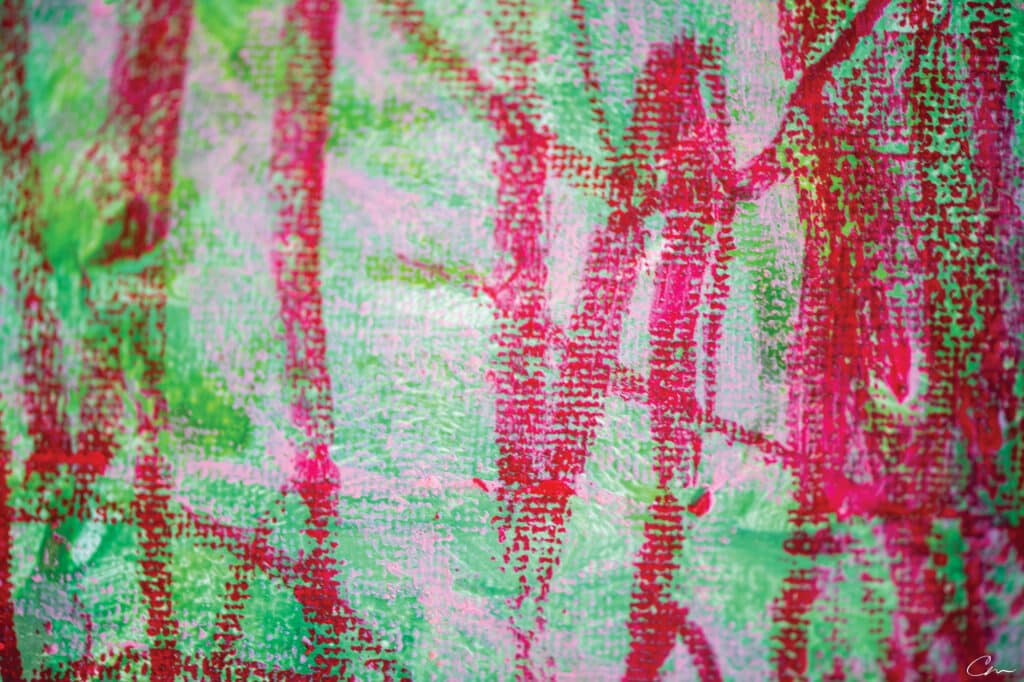
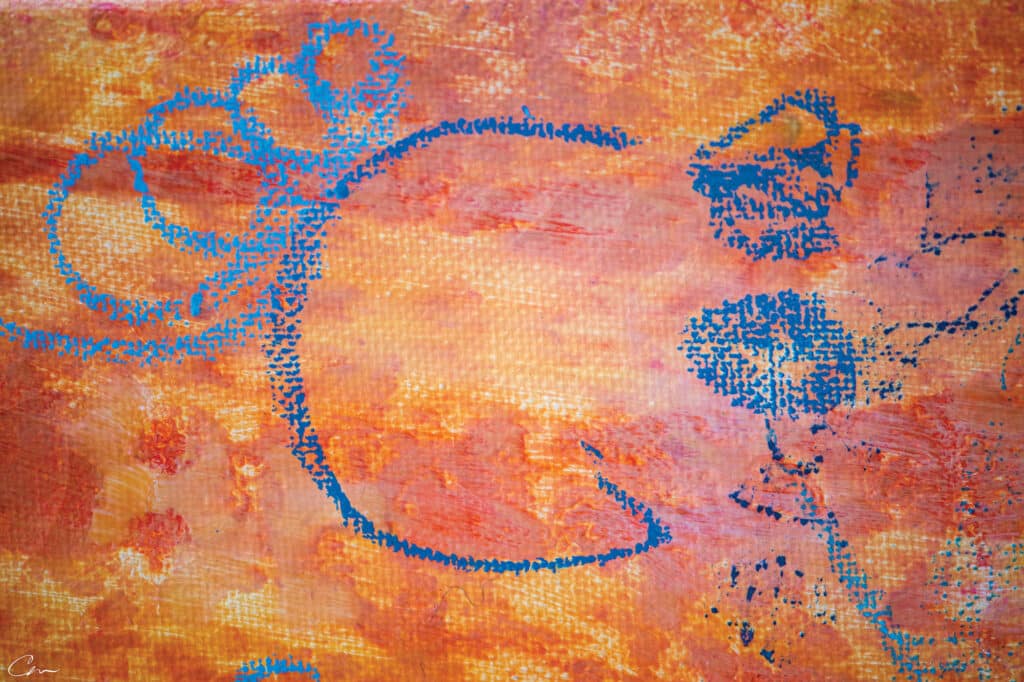
The final layer was oil pastels and a new lesson in color theory. This time, instead of keeping related colors together, we played with complementary colors, changing the look entirely. So, for example, we used shades of green pastels on the red/pink panel, shades of orange pastels on the blue panel, etc.
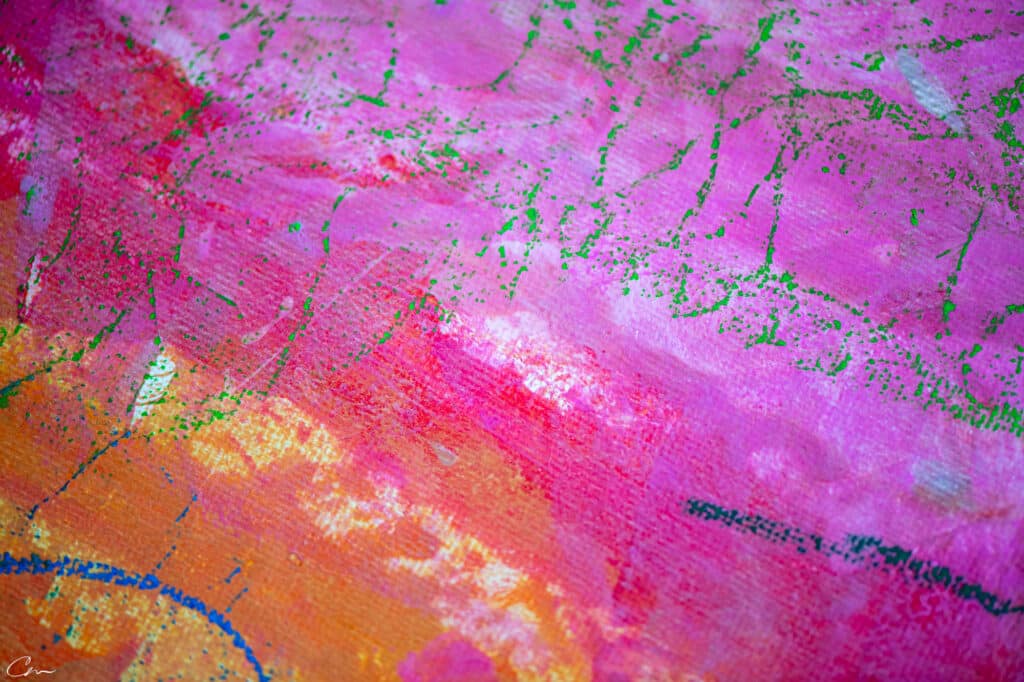
The project was a blast, top to bottom! We made a special trip to Guiry’s and Michael’s to gather supplies and then had three special art sessions together creating it.
If you are interested in doing this project, here is a supplies list:
- Canvas/canvases
- Spray bottles
- Tempera paint – the more colors the better
- Water
- Brushes and other tools for texture
- Paint cups/bowls
- Oil pastels
- Fixative spray
- Imagination
Process Art
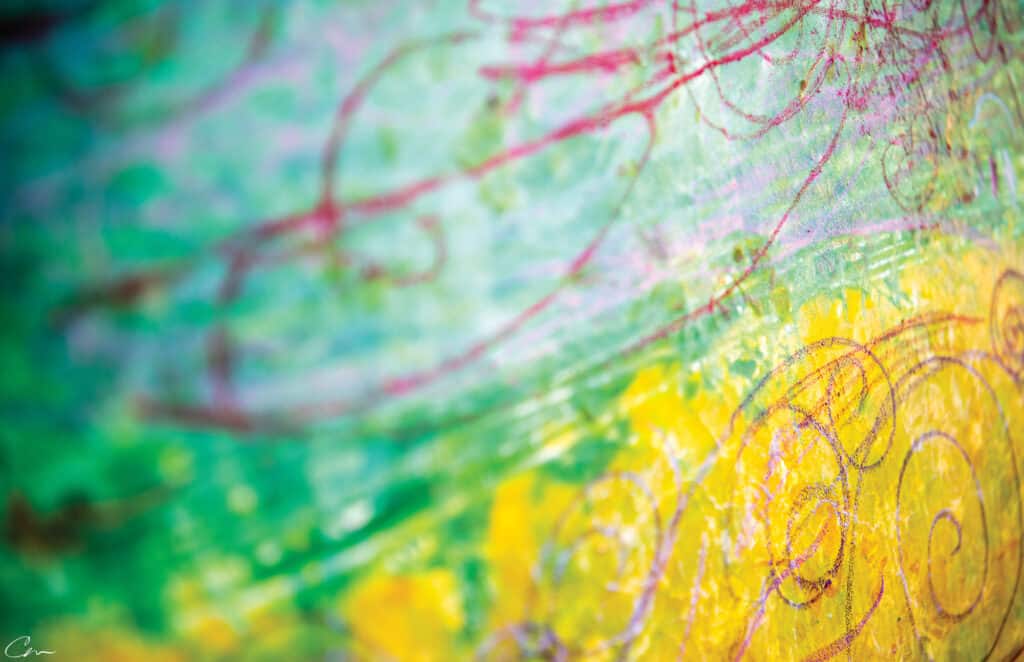
An element of this project that I adore is the complexity. Most kids’ art projects are simple, one-step, hurry-up projects – product oriented rather than process oriented. As you know, I’m a fan of art as process, so this project was definitely my speed. We were able to slow down and enjoy each step, take time to thoughtfully plan the colors, play, and truly immerse ourselves into the process. Willa, quite literally as she wore a lot of the colors, her own rainbow layers.
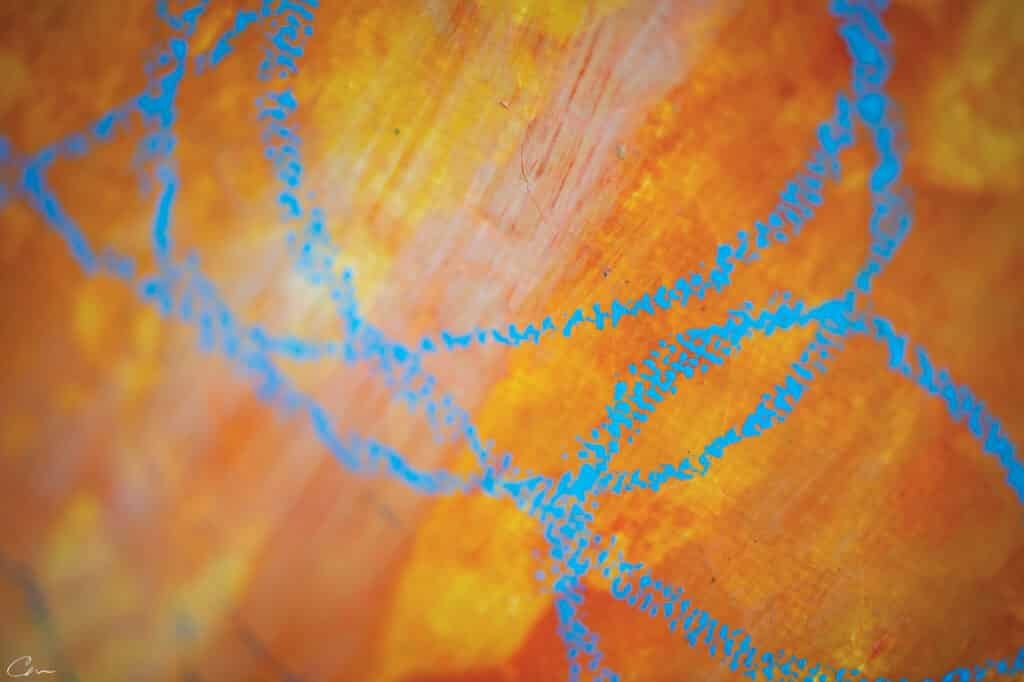
These finished pieces will hang in our new loft, appropriately named The Rainbow Treehouse. I’ll share some photos once they are installed.

All images © 2021 Carey Martin
If you have landed on this page from an external link, please go HERE to read from the beginning. Otherwise, click on the next title below to continue.

The rainbow treehouse is a magical place for sure!! ✨✨✨✨✨✨✨✨✨✨ Can’t wait to see the pics and to come visit once it’s done 🥰❤️🧡💛💚💙💜🥰